Creating Invoices
DispatchCore includes built-in invoicing so you can bill customers directly from completed jobs — no separate invoicing tool required. Invoices are generated as professional PDFs that can be emailed to customers with one click.
To create an invoice, open a completed job and click "Create Invoice." The invoice is pre-populated with the job details, customer information, and any line items added by the technician.

Line Items
Line items are the individual charges on an invoice. They can include:
- Labor — Automatically calculated based on the time between "In Progress" and "Completed" status changes, multiplied by your hourly rate
- Parts and materials — Added by the technician from the field or by the dispatcher from the dashboard
- Flat-rate charges — Service call fees, diagnostic fees, etc.
- Custom items — Any other charge with a description and amount
Technicians can add line items from the mobile app during or after the job, so the invoice is ready to send as soon as the work is complete.
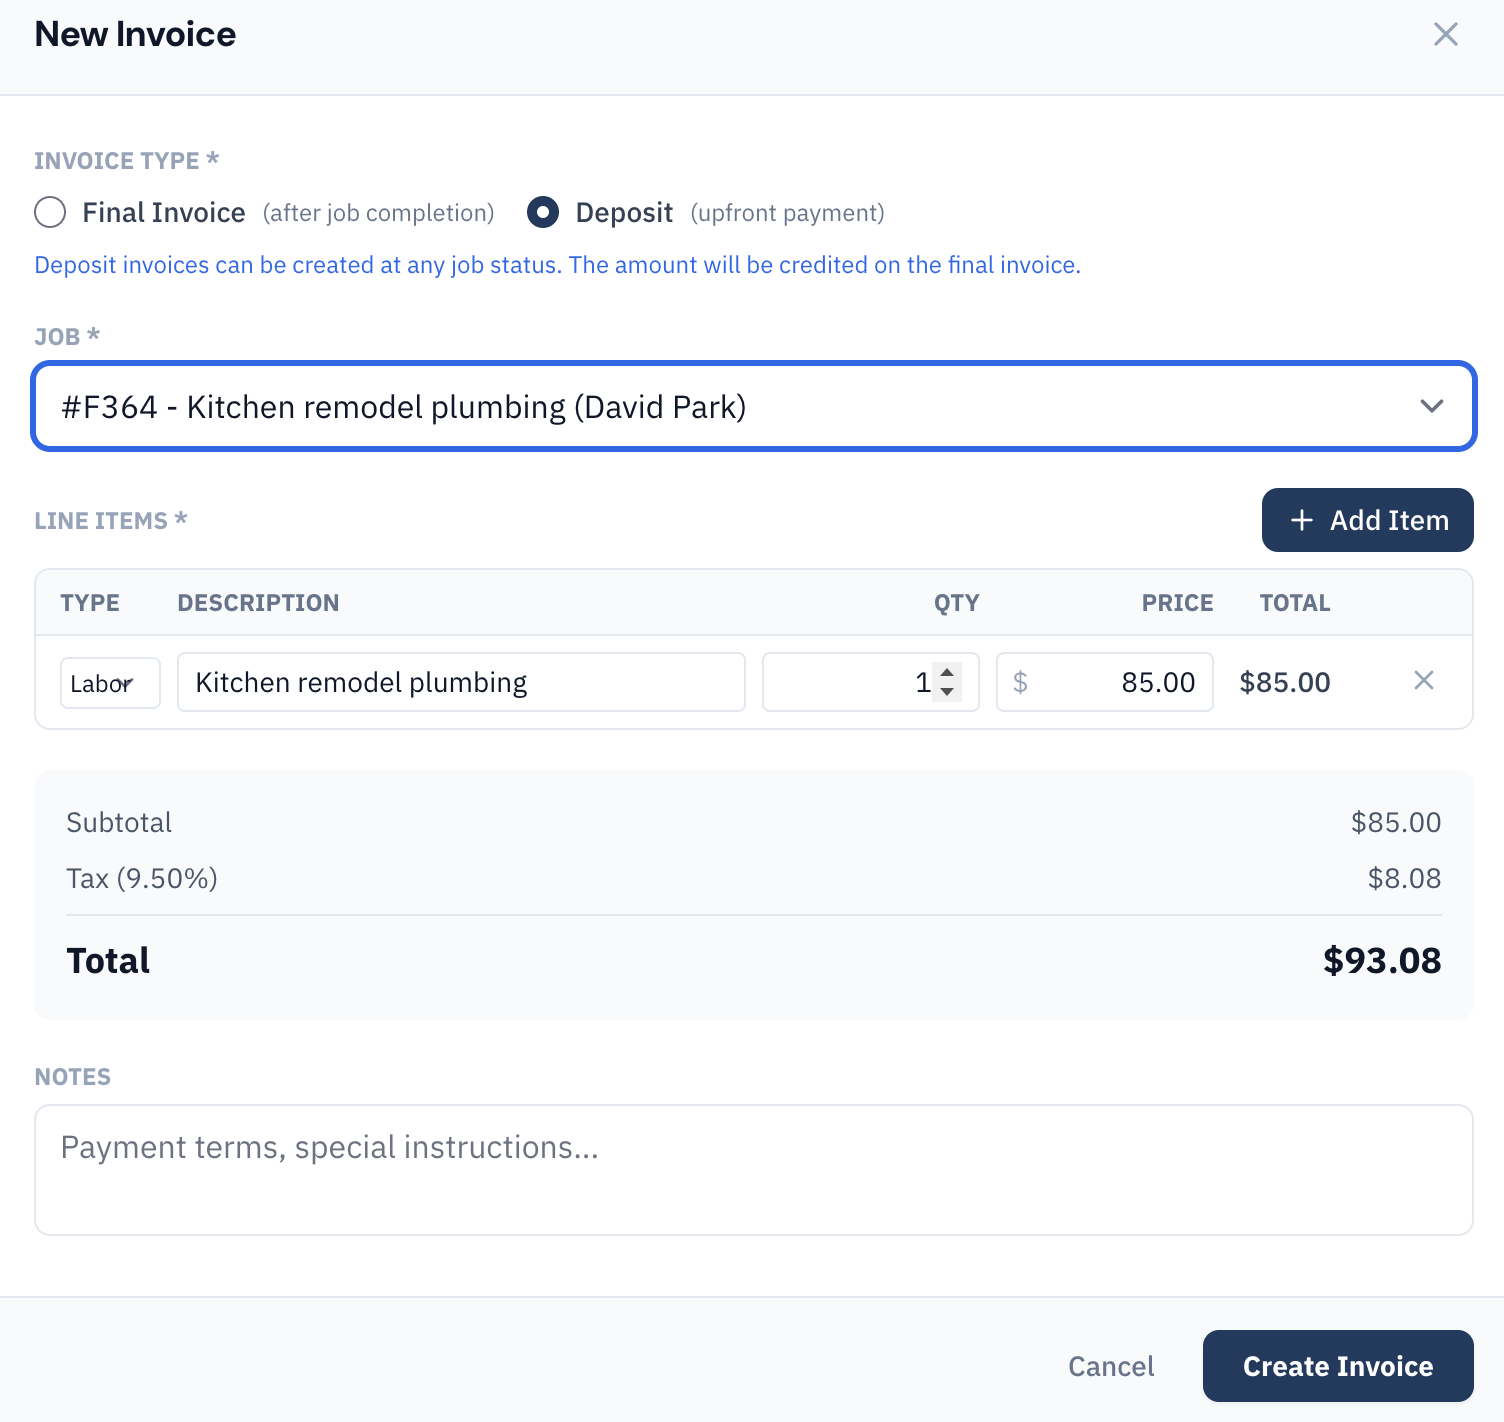
Auto Labor Calculation
When a technician marks a job as "Completed," DispatchCore automatically calculates the labor duration based on the time between "In Progress" and "Completed" timestamps. This auto-calculated labor appears as a suggested line item on the invoice.
You can adjust the labor amount, hourly rate, or total before sending the invoice. The automatic calculation saves time and reduces errors from manual time tracking.
Sending Invoices
Invoices are sent via email directly from DispatchCore. Click "Send Invoice" to email a professional PDF invoice to the customer. The email includes:
- Your company name and contact information
- Customer name and service address
- Itemized list of charges
- Total amount due
- Job completion date
- A Pay Now link, if you've connected Stripe — see Getting Paid
Invoices are stored in DispatchCore and can be resent or downloaded at any time from the job record.
Texting an Invoice
Email isn't always how a customer answers. From the mobile app you can text an invoice and its pay link straight from your own phone — the message opens in your normal Messages app, pre-filled and addressed to the customer, and you hit send.
Because it comes from your number, the customer sees a name they recognise rather than an unknown short code, and they can just reply to it. On the web dashboard, use Copy pay link and paste it wherever you're already talking to them.
The message quotes the balance due, so a customer who already paid a deposit isn't asked for the full amount.
Getting Paid
Connect Stripe once and customers can pay by card from the invoice — money lands in your own bank account, and the invoice marks itself paid. Cash and check are recorded with Mark as Paid, from the dashboard or from a technician's phone.
Full details, including deposits, refunds, and payouts: Getting Paid (Card Payments).
Invoice Tips
- Invoice same-day — The faster you invoice, the faster you get paid. With line items already on the job, you can send an invoice before the tech is back in the truck.
- Attach photos — Job photos (before/after) are linked to the job record, giving you visual documentation if a customer questions a charge.
- Review before sending — Always double-check the line items and total before sending. You can edit anything on the invoice before it goes out.